

A continental headboard fixing is the screw connection that secures a headboard’s legs or brackets to a bed base. For a steady fit, align the fixing holes before tightening the screws so the headboard sits straight and stays in place.
It’s tempting to assume the screws just need tightening, but alignment comes first. If stickers cover the holes, pierce them neatly, then guide the screws in without catching the fabric. This guide explains how fixings attach to a bed, how to align mounting holes and how to fit brackets to a wooden frame. You’ll also learn how to tighten the screws in sequence, so the connection is secure without forcing parts that don’t line up.
Key Takeaways
- Measure the bed frame’s mounting holes before choosing brackets, and use the spacing to guide a straight, centred fit.
- Choose a fixing style that suits the frame and headboard, then mark bracket positions carefully before drilling or fastening.
- Fit the headboard loosely first, position it against the mattress, and tighten the fixings once it sits at the right height.
- Use suitable bolts and tools for the frame, and drive screws steadily to avoid catching the headboard fabric.
- Learn how to recognise when a bed base or headboard fitting needs a different attachment approach.
Mounting-hole spacing and alignment
Start by identifying how the headboard attaches, then measure the frame’s fixing points before choosing or positioning brackets. Matching the holes helps the headboard sit squarely instead of pulling to one side.
-
Identify the headboard mounting type
Check whether the headboard is floor-standing, fitted with struts, freestanding or designed for wall mounting. Floor-standing headboards attach to the bed and reach the floor, while struts connect to the base and move with it. A wall-mounted headboard stays fixed to the wall. Identify the intended attachment points before marking a wooden frame, and don’t assume the same brackets suit every mounting type.
For example, a headboard with struts needs holes that align with the bed base, while a wall-mounted design needs a wall-fixing plan. Hold the headboard upright as you inspect its rear supports. This shows whether the frame’s existing holes align without twisting the struts or forcing the headboard out of position.
-
Check mounting-hole spacing and alignment
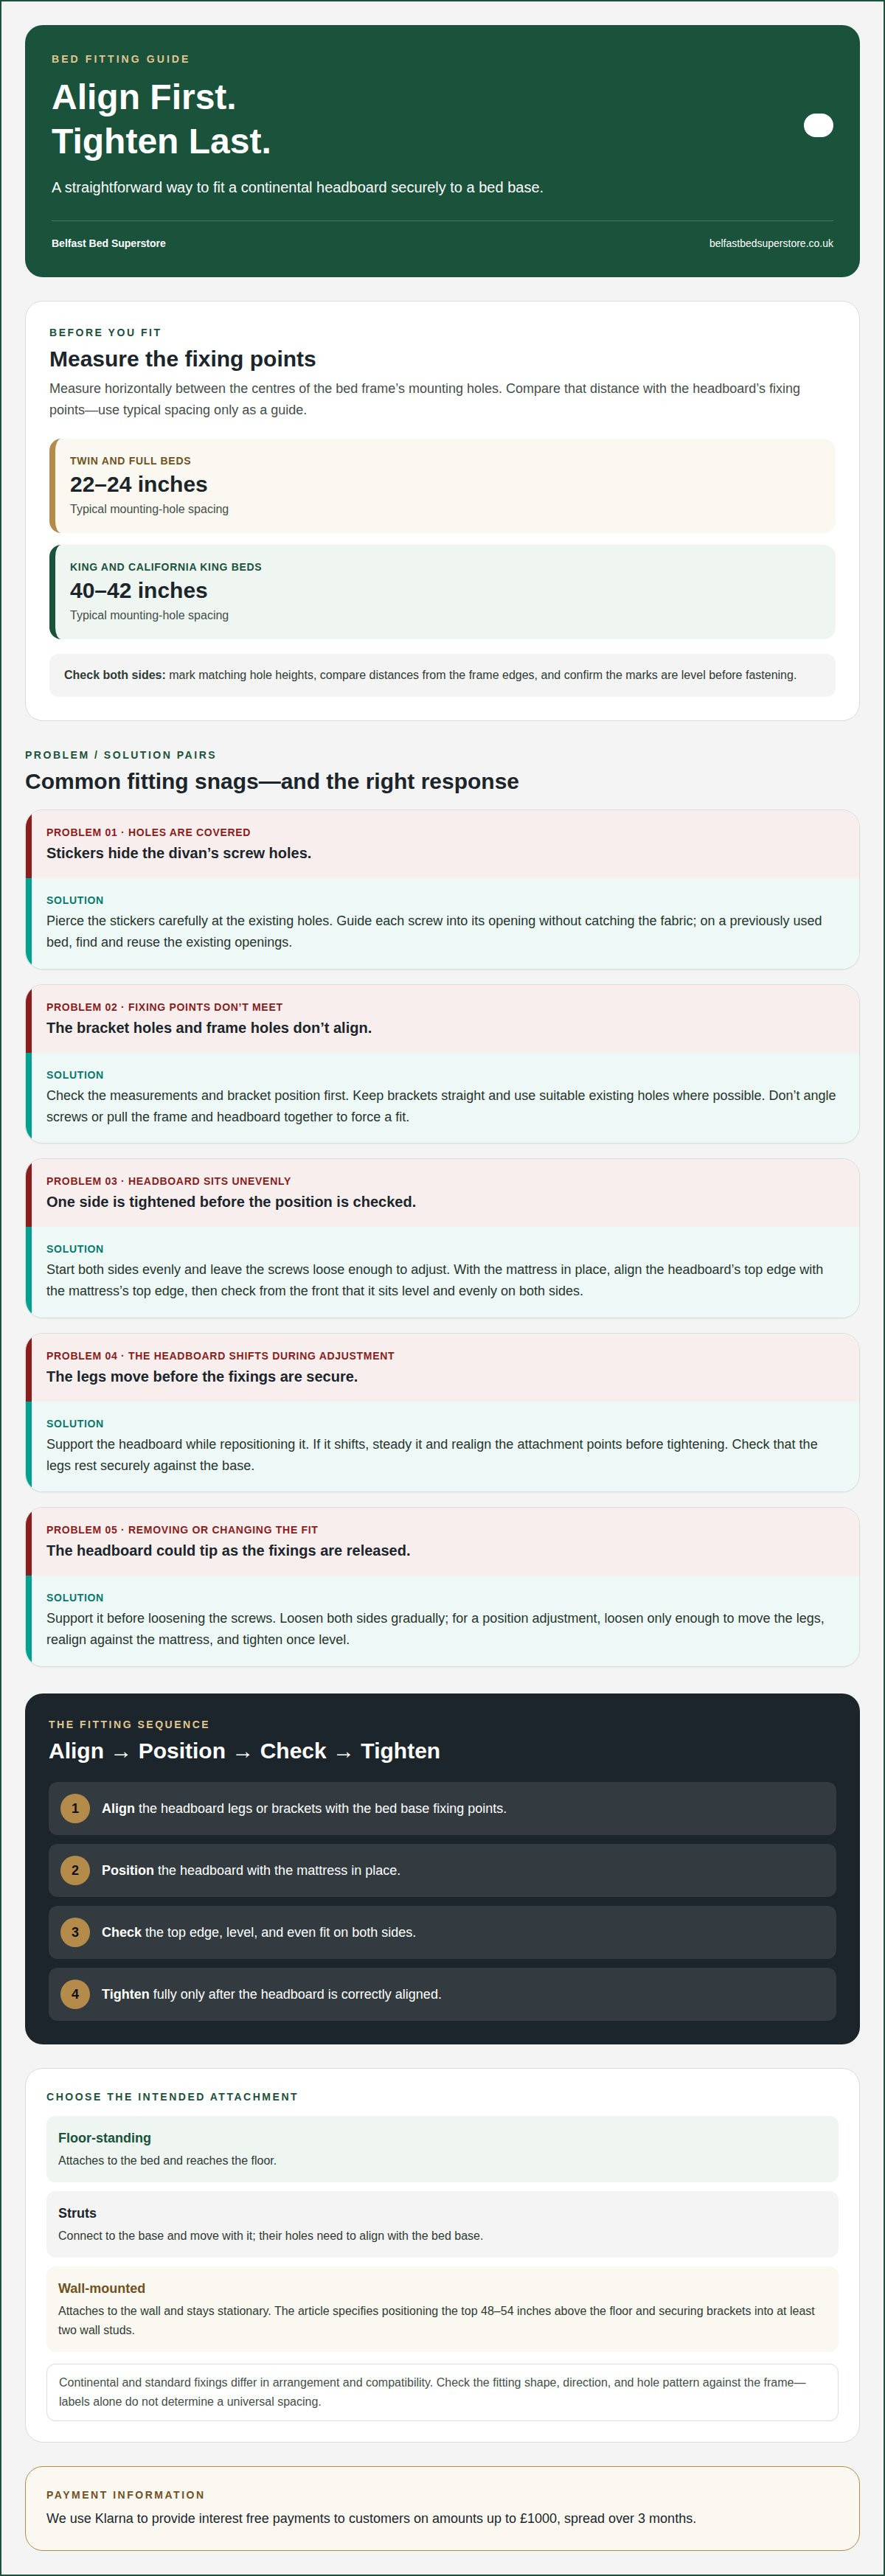
Measure horizontally between the centres of the frame’s mounting holes, then compare that distance with the headboard’s fixing points. Typical spacing is 22-24 inches on twin and full beds, and 40-42 inches on king and California king beds. Treat those figures as a guide, not a substitute for measuring your actual frame and headboard.
Mark the hole centres at matching heights and check that both sides are level. Use a tape measure to compare the distances from the frame’s edges on the left and right. If they differ, check your measurements before drilling or tightening anything. Uneven marks can leave the headboard crooked.
-
Compare continental and standard fixings
Compare the fitting and hole pattern instead of relying on labels alone. Continental and standard headboard fixings differ in their arrangement and compatibility with the headboard and bed base. The names don’t indicate one universal hole spacing. Check each fixing’s shape, position and direction against the frame.
Use the screw holes as your practical reference. If a continental fitting’s holes don’t meet the frame’s existing fixing points, don’t angle a screw to force the connection. Reposition the bracket only where the frame allows a secure, straight fit, then check both sides together.
-
Consider wall-mounted brackets
Choose wall brackets when the headboard is designed to attach directly behind the bed, rather than to the frame. Wall-mounted headboards remain stationary, so they won’t move with the bed. Position the top of the headboard 48-54 inches above the floor, then mark the bracket locations level with each other.
Secure wall-mounted brackets into at least two wall studs. Check that the headboard sits centred behind the bed and that its brackets align with the marked positions before fixing them. If the bed moves independently, allow 2-4 inches of clearance between an adjustable bed and the wall.
Attaching a headboard to a bed frame
Fit the headboard by matching its legs or brackets to the bed base’s fixing points. On a divan, the headboard attaches separately rather than arriving already fitted.
-
Fit continental fittings to the frame
Place the headboard beside the bed base and align its legs with the fixing points. On a new divan, carefully pierce the stickers covering the screw holes, then screw into those holes. Keep the screws aligned with their openings and avoid catching the fabric as they enter.
Slide the headboard legs onto the screws in the divan base. If needed, ask someone to support the headboard so it stays upright while you position both legs. Start each side evenly instead of fully tightening one screw first. This leaves room to adjust the headboard before securing it.
Place the mattress on the bed, then move the headboard until its top edge meets the mattress’s top edge. Check from the front that it looks level and sits evenly on both sides. Once it’s in position, tighten the screws fully. To fit a headboard with continental fixings, align, position, check, then tighten.
A previously used bed may already have pierced stickers over its screw holes. Find the openings and use them instead of making new holes beside them. Continental fittings work with divan beds and other bases when their attachment points align with the headboard legs. If your divan base has compatible fixing points, fit the headboard separately using them.
For a wooden frame, hold each bracket against the frame and align its holes with the headboard’s fixing points. Keep the bracket straight and use suitable existing holes where possible. If the holes don’t align, correct the position first. Don’t force screws in at an angle or pull the frame and headboard together.
-
Remove or adjust the fitted headboard
Support the headboard before loosening its screws to prevent it tipping forward or dropping as the fixings release. Loosen both sides gradually, keeping the headboard steady, then lift its legs clear of the screws. If possible, ask someone to hold the opposite side during removal.
To adjust the height or position, loosen the fixings enough to move the legs without removing the headboard completely. Reposition it against the mattress’s top edge, then check that both sides sit evenly. Tighten the screws once it’s aligned. To remove the headboard fully, lift it away only after the screws no longer hold the legs.
After adjusting the headboard, inspect the frame and fixings before using the bed. The headboard should sit straight, with its legs resting securely against the base. If it shifts as you check its position, support it and realign the attachment points before tightening again. Don’t rely on a crooked or partly engaged fixing.
Common headboard bracket types
Choose brackets that match the headboard and frame in shape and adjustment range. Compare the stated capacity with the headboard’s weight, then check that the fixing holes align cleanly.
- Consider steel L-shaped brackets when the frame and headboard need a simple right-angle connection. Set each bracket square against its surfaces and align its holes before fastening. Don’t assume a capacity listed for one bracket applies to every bracket in this category.
Use an L-shaped bracket when its flat sections sit flush against both surfaces. If it rocks or leaves a gap, reposition it rather than tightening it crooked. A straight fit helps the screws enter without pulling the headboard off-centre.
- Consider flat mounting brackets when you need a plate to join two fixing surfaces. First check the available mounting area on the bed frame. A plate that overhangs an edge may not sit securely or align with the headboard.
Hold the plate against the frame and headboard to check that its holes align with both. Choose a position that leaves room for each screw and keeps the bracket flat. Don’t ignore loose or mismatched fixings because of the plate’s stated capacity.
- Choose universal headboard brackets when the attachment points need adjustment. Set the bracket width to match the headboard’s fixing points, then check that both sides remain level before securing them.
An adjustable bracket can help when the existing holes don’t match the headboard’s fixing points, but the frame must still be compatible. Align the brackets first. Don’t stretch or twist them to make the connection.
- Consider clamp-on brackets when the frame allows this type of attachment. Position each clamp on a suitable section of the frame, then check that it grips firmly without obstructing moving parts or fabric. Compare the headboard’s weight with the bracket’s stated limit.
Clamp-on fittings don’t rely on a drilled fixing at that point, but they still need a stable contact surface. If a clamp shifts under hand pressure, adjust its position before attaching the headboard. Keep both sides aligned to prevent sideways movement.
- Consider direct wall-mounting brackets when the headboard is designed to attach to the wall. These brackets attach the headboard to the wall, not the bed frame, so the headboard stays stationary when the bed moves. Check that the bracket arrangement suits the wall and headboard before marking fixing points.
Wall-mounted and frame-mounted brackets aren’t interchangeable. A continental fixing intended for a bed base needs compatible frame attachment points; a wall bracket uses a different mounting method. Match the bracket type to the headboard’s intended support and stated weight capacity.
Screwing headboard fixings into the base
Guide screws straight into the intended fixing holes, keeping the headboard material clear of the threads. Careful alignment and gradual tightening help prevent snagged fabric, crooked fittings and movement at the base.
-
Gather fittings and installation tools
Match the bolts to the fixing arrangement before starting. Typical sizes for standard bed-headboard installation are 5/16-inch by 2.5-inch or 3/8-inch by 3-inch bolts. Compare the bolt with the holes and fittings, and don’t force a larger bolt through a smaller opening.
Set out the required screws or bolts and a driver that fits their heads. Keep the parts together so you can use the correct fixing on each side. Check that the driver fits securely, since a poor fit can slip and damage the screw head or nearby fabric.
- Find the intended screw holes in the bed base before inserting fixings. On a previously used bed, stickers covering the holes may already be pierced. Use the existing openings rather than pushing screws through the base covering elsewhere.
On a new bed, carefully pierce the stickers covering the screw holes. Place each screw in its opening and turn it steadily, keeping it aligned. Avoid catching or winding the surrounding material around the screw. If resistance increases, stop and check the alignment instead of forcing the fixing.
- Once the screws are positioned in the base, slide the headboard legs onto them. Support the headboard while both legs engage, and ask someone to help hold it if needed. Check that each leg sits against its fixing points before tightening.
Nip the screws after the legs are on them to help keep the headboard in place. This means tightening them enough to hold the headboard while you check its position, not fully securing one side before the other. Recheck that the headboard is straight, then tighten the fixings fully. A loose first fit leaves room for small alignment corrections.
-
Resolve common fixing problems
If a screw won’t enter, remove it and check that it meets the pierced hole squarely. A screw turned at an angle can snag the material or fail to hold the leg securely. If the headboard sits crooked, loosen both sides, reposition the legs and tighten again only after checking their alignment.
If the headboard is loose, check that both legs sit fully on their screws and that each fixing is tight. If a fixing still won’t engage, stop rather than forcing it or making a new hole beside the intended opening. Common continental headboard fixing problems include misaligned holes, poorly seated legs and screws catching the covering. Correct the fit at its source, then check that the headboard stays steady.
What fittings and tools are needed to install a continental headboard fixing?
Lay out the fixing parts and tools before starting, so you can match each screw to its hole. The right fit depends on the connection between the bed base, bracket and headboard.
- Check the fixing points on the base and headboard first. Note whether you’re fitting directly through the legs or using separate brackets. Compare the holes and threads before selecting bolts. Typical sizes for standard bed-headboard installation are 5/16-inch by 2.5-inch or 3/8-inch by 3-inch bolts.
Treat those sizes as examples, not a reason to force a bolt into a mismatched fitting. Check that the bolt enters the relevant opening squarely and suits the parts being joined, including the depth available in the frame.
- Choose a screwdriver or driver that fits the screw head securely. A loose tool can slip as you turn, damaging the screw head or nearby fabric. Keep the driver aligned with the screw, especially when the fitting is close to upholstered material.
If the fastener is a bolt with a different head, use a tool that matches its shape. Don’t substitute a tool that grips poorly. Aim for controlled turning, not extra force.
- Keep a tape measure and pencil nearby to check and mark bracket positions. Measure from the same reference point on each side of the base, then mark matching positions. A spirit level can help you check the bracket line across the frame before fastening.
For example, if one bracket sits higher than the other, compare both marks with the frame edge. Correct the mark before driving in screws. Keeping the brackets level helps the headboard meet the bed evenly.
- Prepare the screw holes before installation. On a new bed, carefully pierce the stickers covering the intended holes. On a previously used base, find the existing openings. Keep the fabric clear as you guide each screw into its hole.
Start each fixing by hand where possible, then use a matching driver to turn it steadily. Stop if the screw catches or enters at an angle. Back it out and realign it instead of forcing it through the covering.
- Arrange the fittings in pairs before attaching the headboard. Keep the left and right brackets together, and match each bolt to its hole. This makes it easier to spot misplaced or mismatched parts before supporting the headboard on the frame.
Support the headboard while the fixings engage, then tighten them once the position is straight. Browse headboards for your bedroom if you’re choosing a headboard to fit your bed.
Belfast Bed Superstore: Hypnos Mattresses
Belfast Bed Superstore offers Hypnos Mattresses alongside Sealy, Relyon and Dunlopillo options. Once your headboard fixing is secure, comparing mattress choices can help you plan a comfortable, coordinated bedroom. If you’re replacing a mattress too, consider which brand and feel suit your sleeping preferences. Belfast Bed Superstore serves customers across Cambridgeshire, with a showroom in Cambridge where you can explore the selection.
We use Klarna to provide interest free payments for purchases up to £1000, spread over 3 months.
If you’re considering a mattress alongside your bed setup, contact Belfast Bed Superstore or visit the website to explore the range.
Plan your next bedroom update with confidence
Knowing what a continental headboard fixing is gives you a useful starting point when planning changes to your bed setup. Consider how the bed base and headboard work together, as changing one may affect the fit of the other. Thinking through both choices can help you plan a more considered update.
If you’re weighing up your options, a conversation can help you explore the bed and bedroom choices that suit your plans. Belfast Bed Superstore offers Hypnos Mattresses, Sealy Mattresses and Relyon Mattresses, alongside headboards. You can discuss what you’re looking for and decide on a comfortable next step at your own pace.
Contact Belfast Bed Superstore for advice and take the next step towards a bedroom that feels right for you.
Frequently Asked Questions
What is a continental headboard fixing?
A continental headboard fixing connects a headboard to compatible fixing points on a bed base. If you’re asking what a continental headboard fixing is, think of it as the link between the headboard legs and the base, not a wall attachment. This distinction matters when moving the bed: a frame-mounted headboard moves with its base, while a wall-mounted one stays in place.
How does a continental headboard fixing attach to a bed base?
The fixing attaches by connecting the headboard’s legs or brackets to the bed base’s intended screw points. On a divan, for example, the headboard legs sit over screws fitted into the base. Support the headboard as the parts meet, and check that both sides engage before securing them. On a wooden frame, the bracket needs to sit against a suitable fixing surface without twisting.
What measurements and spacing do continental headboard fixings use?
Measure the distance from the centre of one mounting hole to the centre of the other, then compare it with the headboard’s fixing points. Typical spacing is 22-24 inches on twin and full beds, and 40-42 inches on king and California king beds. Bed labels alone don’t establish a match: the actual hole positions and bracket alignment determine whether the headboard can attach straight.


